Art
When I was a kid, I was always the one who "couldn't draw" so I rapidly gave up and convinced myself I couldn't.
I'm now giving it another chance. Inspired by a random workshop I walked into accidentally at Lucca Comics.
I don't aspire to be a great artist, I just want to have fun and see where it takes me.
In this section, I'll share some of my work.
2026 1
February 1
2025 24
December 2
November 7
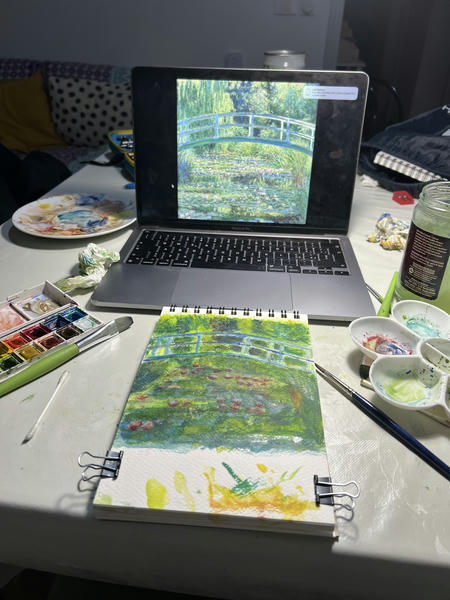
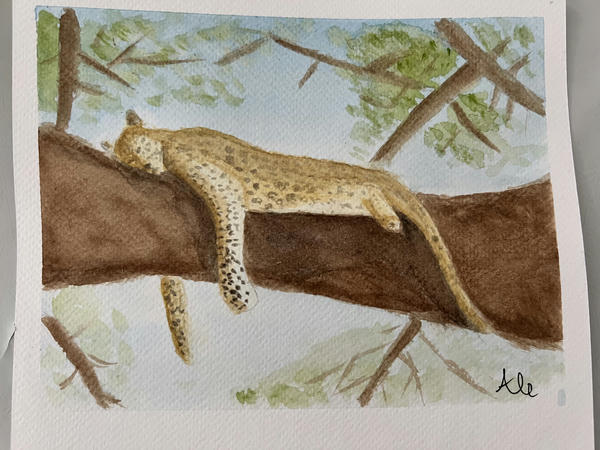
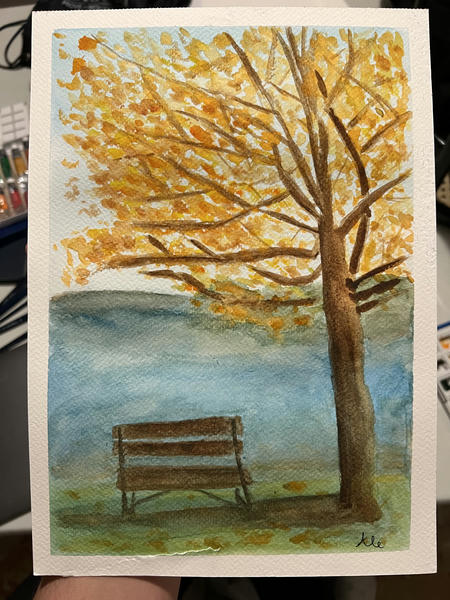
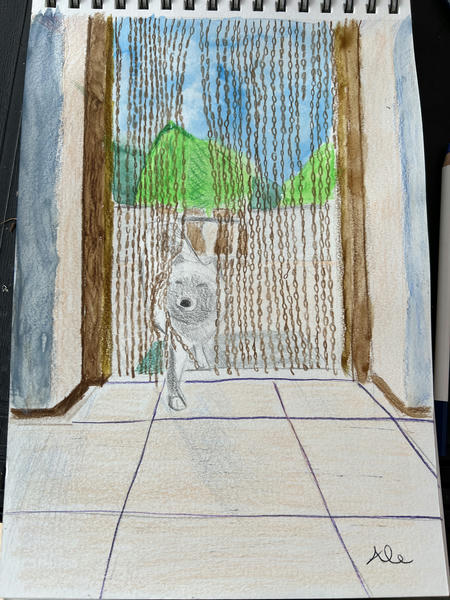
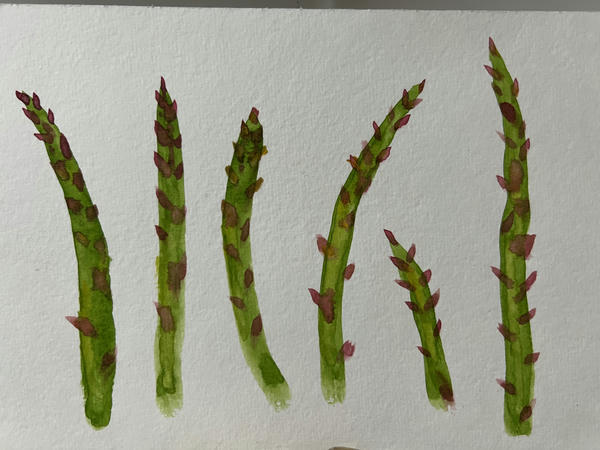
Leopard in watercolor
At the end of a watercolor class I was taking, the assignment was to draw anything we wanted. I didn't have any idea and begged the instructor to give me one... He said: draw a cat looking out of a window, well...
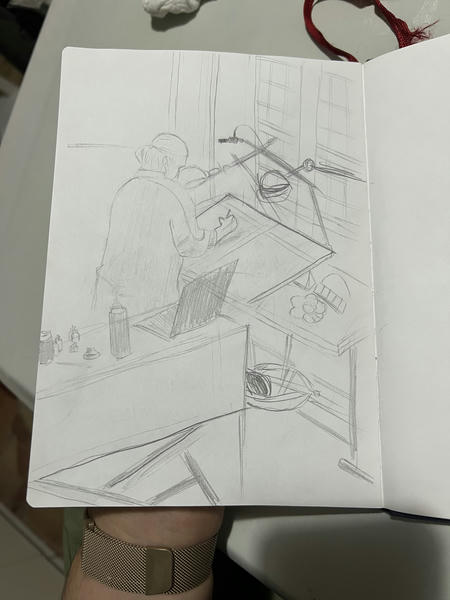
Sketch of Rebecca Dautremer at Lucca Comics 2025
Lucca Comics was what started it all. I went back this year, and this time I went just to see the artists. Rebecca Dautremer was the resident artist and I had the luck to see her painting.
August 2
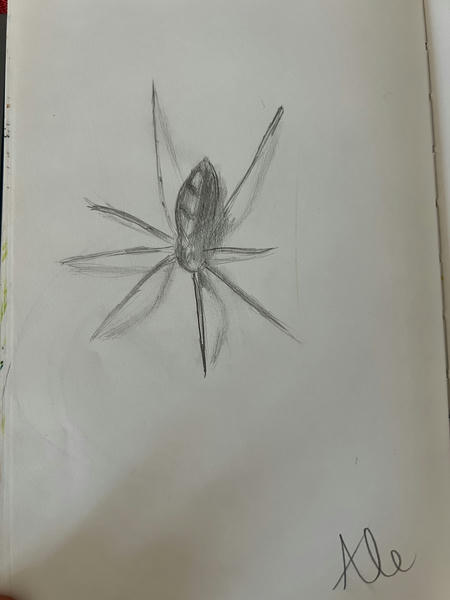
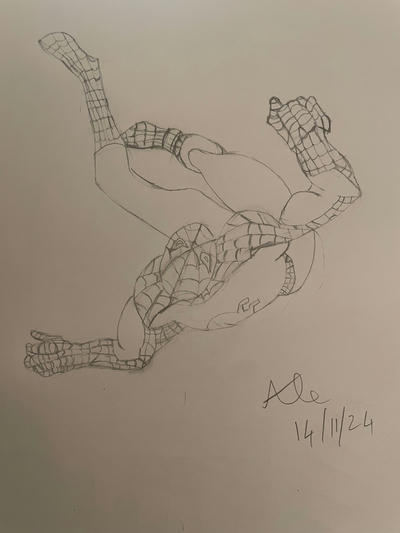
Spider Drawing
This cool fella was sleeping on the wall just above the bed. I moved him but i took a picture and drew him before letting him go free.
July 1
June 1
May 3
April 1
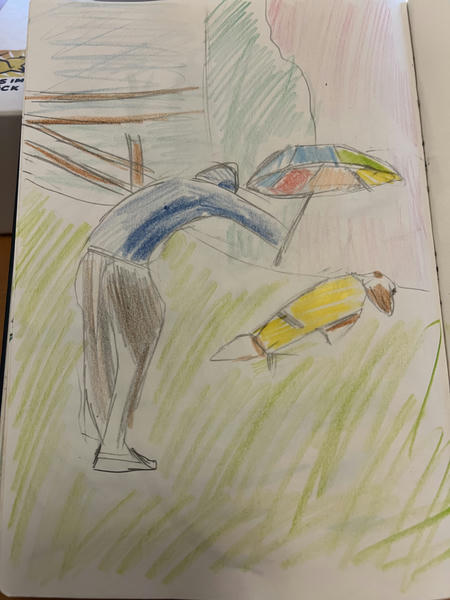
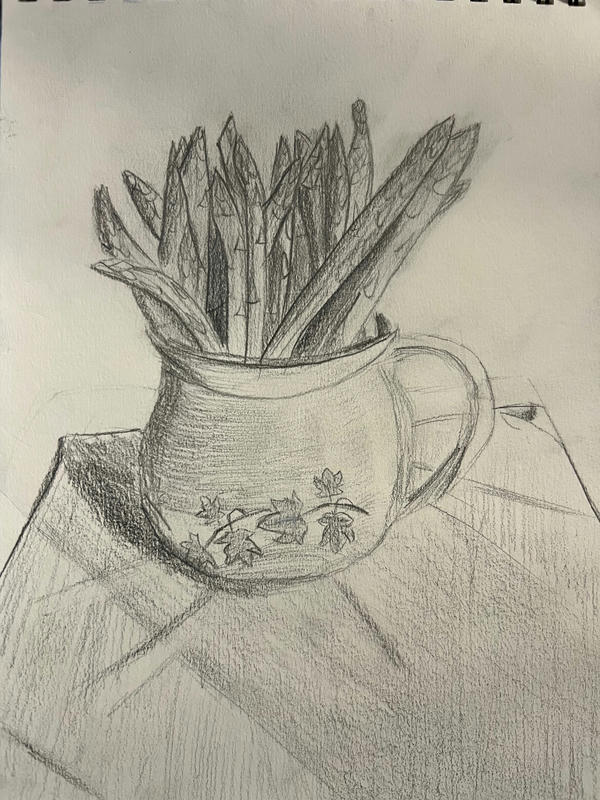
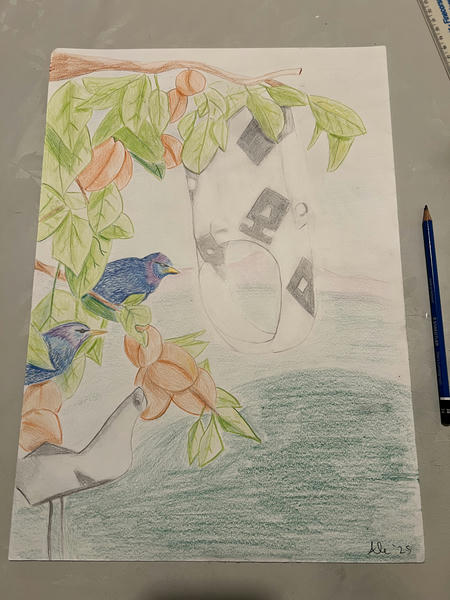
A mask, a bird wooden sculpture and a drawing
As part of a drawing class I'm taking, I had to create a composition between a 2d drawing and a still life drawn in class. I've used graphite for the still life and colored pencil for the 2d. Here is the result. A bit scary :D
March 4
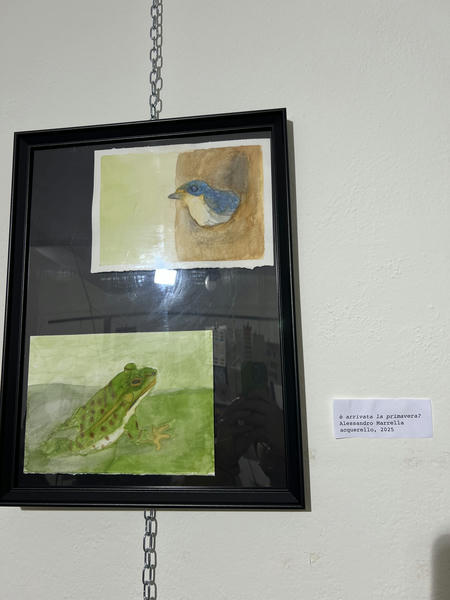
A small exhibition
Really proud of doing a small exhibition today after taking a few watercolor classes @ Imago Pisa :)
February 2

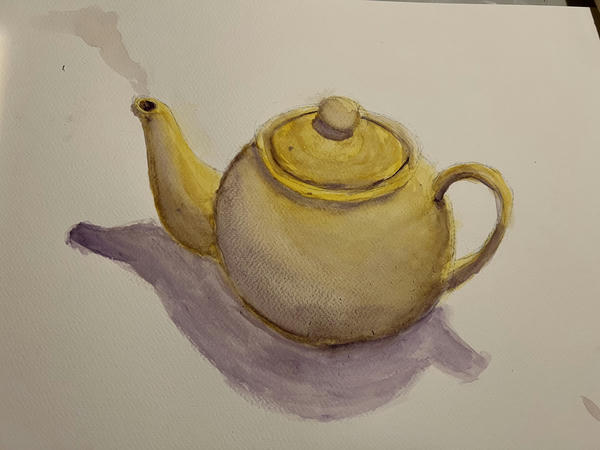
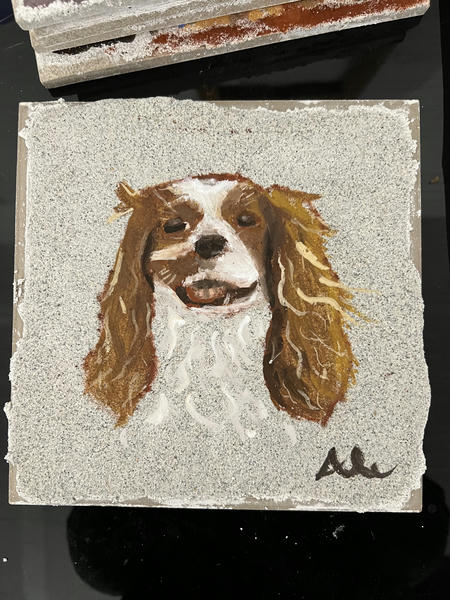
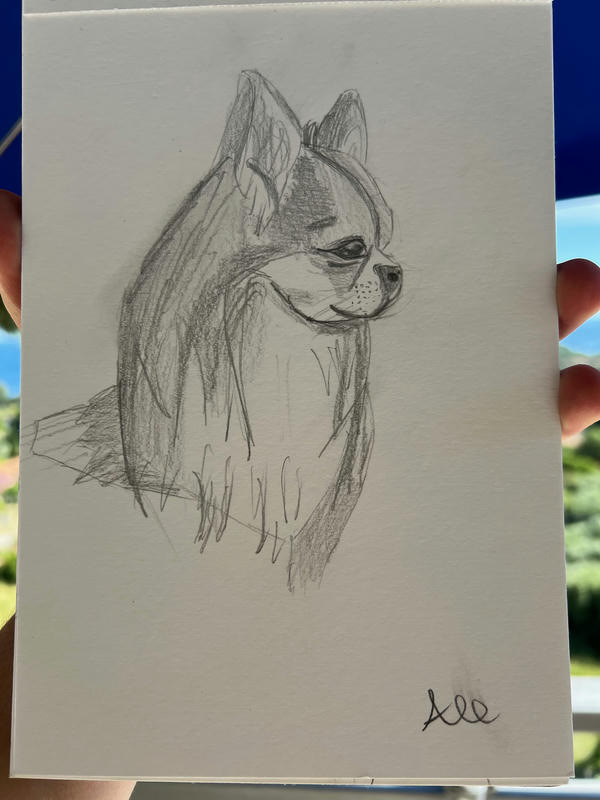
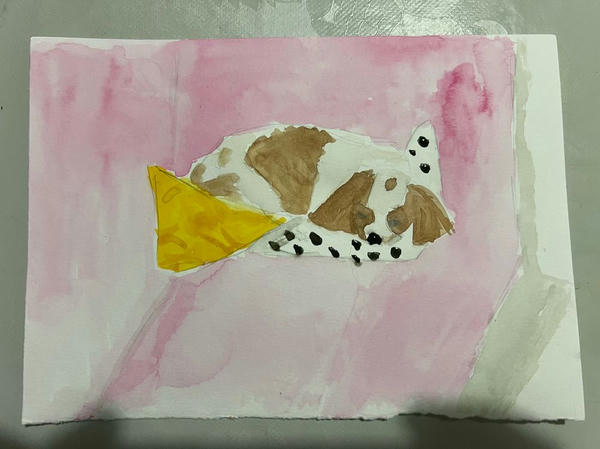
My dog in watercolor
I started taking an amateaur illustration class, yesterday we learned a bit about watercolors so I decided to give it a go drawing Pita, my dog.
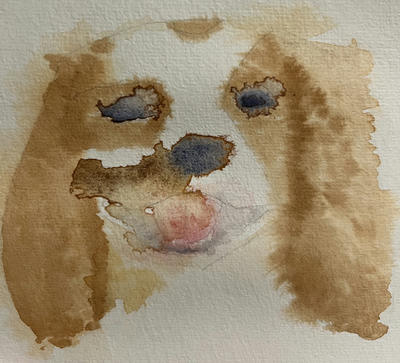
It's messy but I like it.
January 1
2024 9
December 2
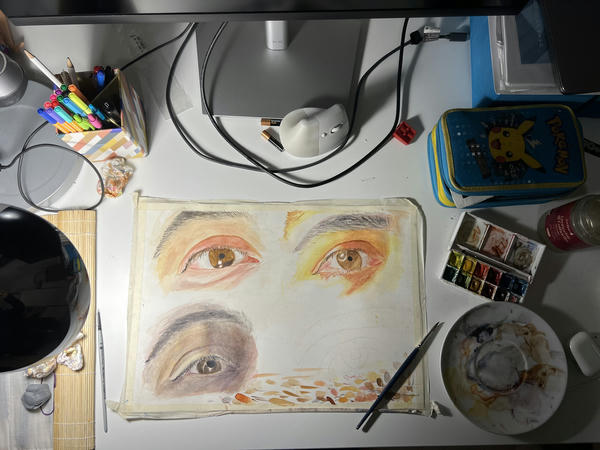
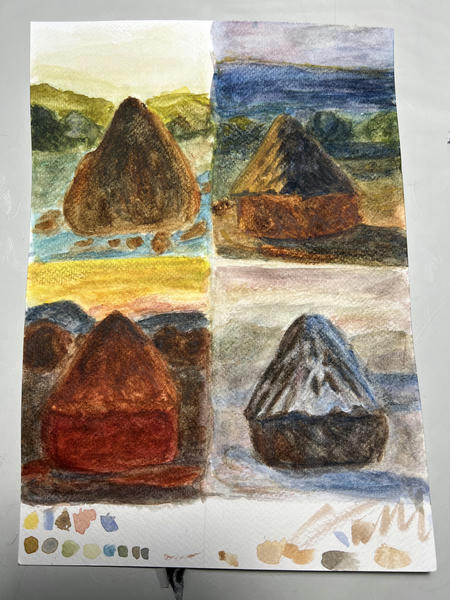
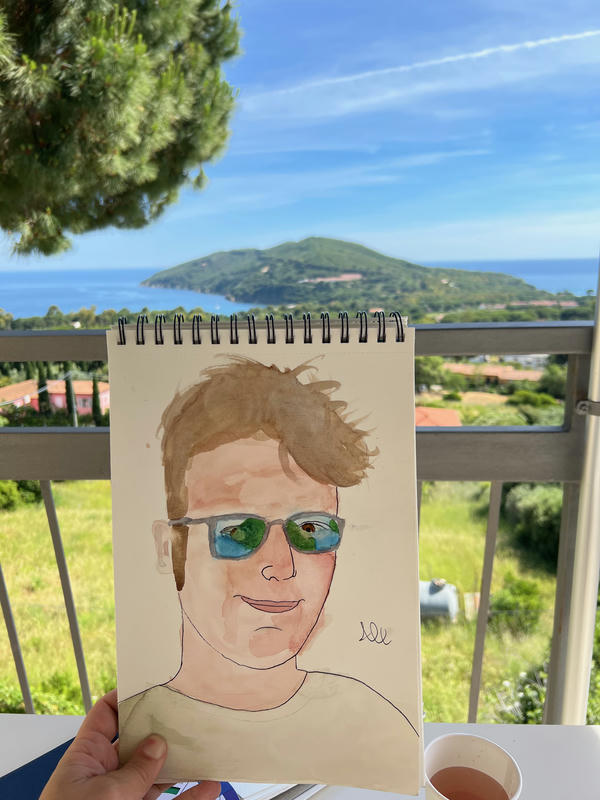
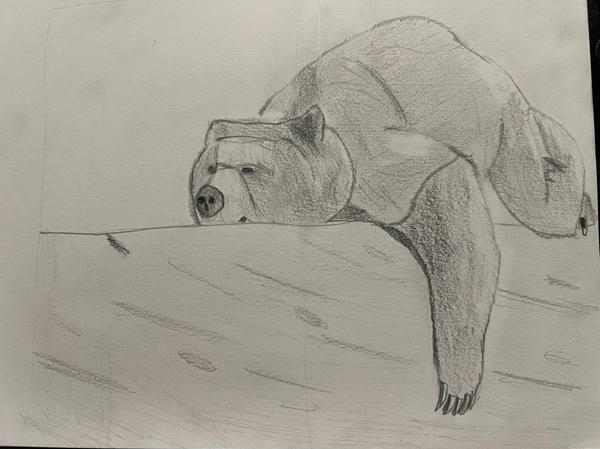
Lights, Shadows and my self portrait a month later
The "last" chapter (there are actually two more, but they are more about applying creativity to other fields and some concluding remarks on finding the artist within you) of the "Drawing on the Right Side of the Brain" book by Betty Edwards focuses on perceiving lights and shadows, also known as seeing things in terms of "values".
This was another mind blowing chapter for me, I always regarded this part of drawing as something subconscious, and also simply I couldn't really understand how to use lighter or darker tones to give the idea of tridimensionality.
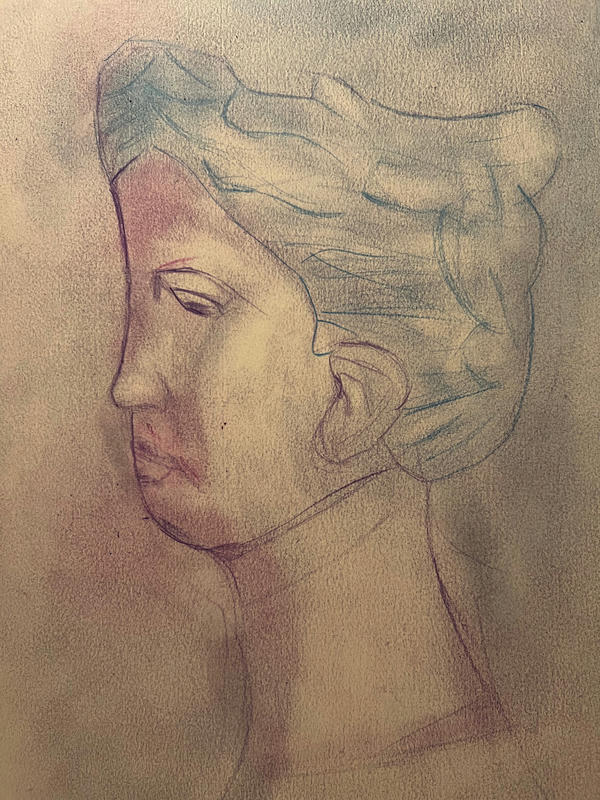
Drawing a Profile Portrait
Last week I worked on the second last chapter of Betty Edwards' book "Drawing on the Right Side of the Brain". This chapter focused on drawing a face by profile. The book asks to draw a person from life but I couldn't find anyone wanting to model for me so I drew Taylor Swift from a picture. I know it's not the same thing, but for now that will do.
November 7
Perspective and sighting
This week I did a few exercises on perspective. I feel like it was easy enough to get ok results, but it's really hard to reach really good results. I practices both one and two point perspective. I didn't do three points yet because apparently it's only used if you are looking down or up a tall building.
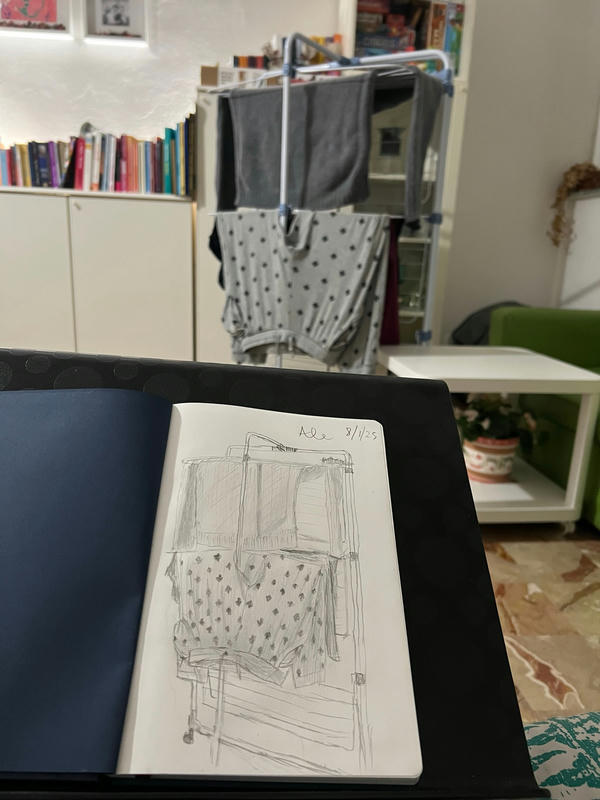
Negative spaces
I did some exercises from the Drawing on the Right Side of the Brain by Betty Edwards book around negative spaces.
A "negative space" is roughly everything that's not a "positive form" (i.e. an object or a person or a phisical part of a person). It can be the space between the fingers of a hand, the space between two objects, the space between the legs of a chair, etc...
Negative spaces in drawing are very "real" and not taking them into account makes the drawing composition look wrong. Betty Edwards through the book teaches to use the negative space to turn off the "L-mode" of the brain: because negative spaces share a border with positive forms, if you draw them you will end up with the positive forms drawn too, with the advantage of having your brain "switch off" the little voice that tells you that a hand should be drawn a certain way.
i I've partially made use of the negative spaces concepts in my foreshortening exercises, but here I'm taking them a step further by focusing on them directly.
I've done three drawings with this focus:
- A chair in my living room
- A copy of "Child Seated in a Wicker Chair" by Winslow Homer
- A copy of "Studies of Arms and Legs" by Peter Paul Rubens
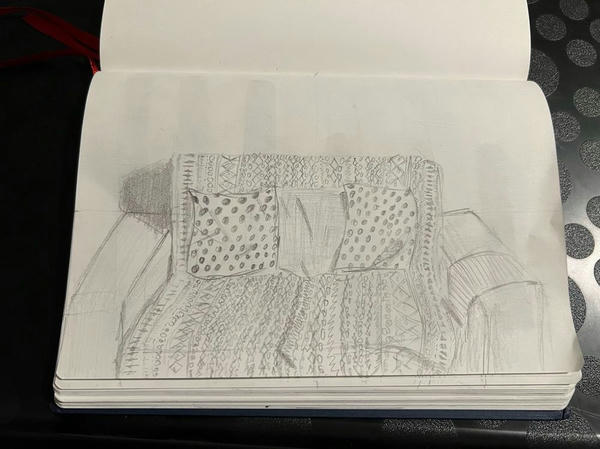
A chair in my living room
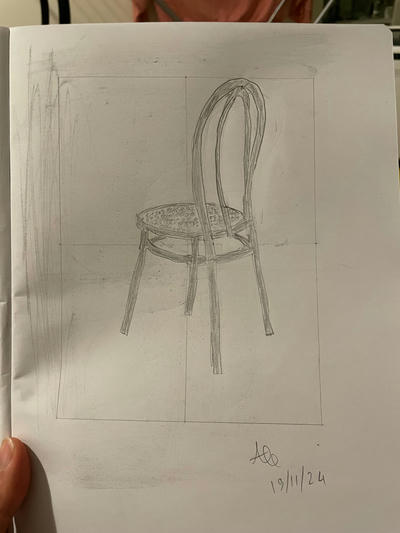
You can see how many negative spaces there are to draw! For this exercise, the book also tells you to define a "one", i.e. a small part of the chair that will drive the proportions of the rest. I drew a small negative space corresponding to one of the sections below the chair on the viewfinder, copied it on paper, and then drew the rest of the chair. This process took me a few hours, but I'm pretty happy with the result!
Child Seated in a Wicker Chair
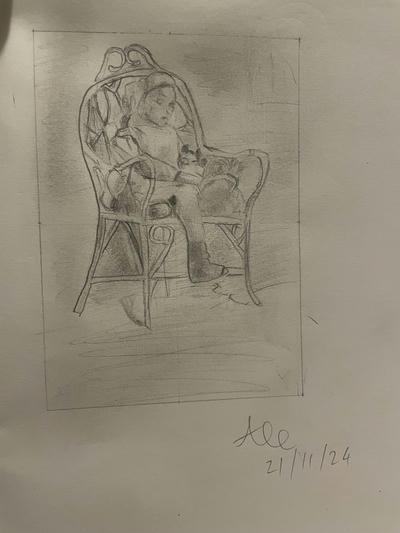
If you are unfamiliar with the reference, this is the original piece. This was very hard! I still have to learn about setting values, and clearly here it would have helped. Also I couldn't get the face of the child right despite my many attempts! This took me like 6 hours... the result is not great, but at least I think I did ok on the negative spaces of the chair.
Studies of Arms and Legs
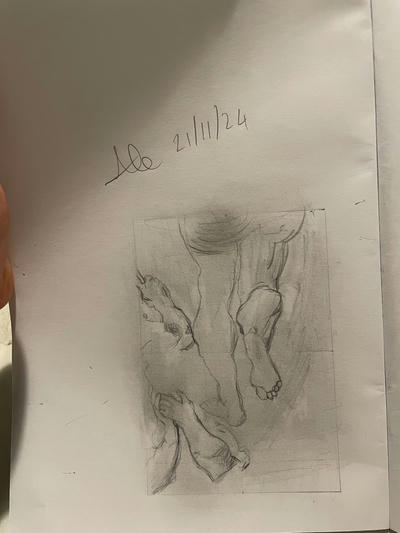
I drew this upside down first, and then flipped it and refined some details. Again, here is the reference. Here I think I did quite well, especially the legs. You can see how negative spaces (e.g. the one between the legs) here are really important to get right also for the foreshortening effect.
That's all for this time. I already started studying perspective (the next chapter in the book), but I'll blog about it later.
Foreshortening exercises
For a non-native speaker, even the word "foreshortening" wasn't immediately intuitive, so I'm going to post its definition for posterity:
foreshorten: to shorten by proportionately contracting in the direction of depth so that an illusion of projection or extension in space is obtained (Merriam-Webster)
The "Drawing on the Right Side of the Brain" book by Betty Edwards makes you do an exercise of portraying your hand, foreshortened.
First, the book asks you to mark it on a piece of plastic called "viewfinder" (I'm using the one included in the workbook, but it's really something that can be made at home) like this:
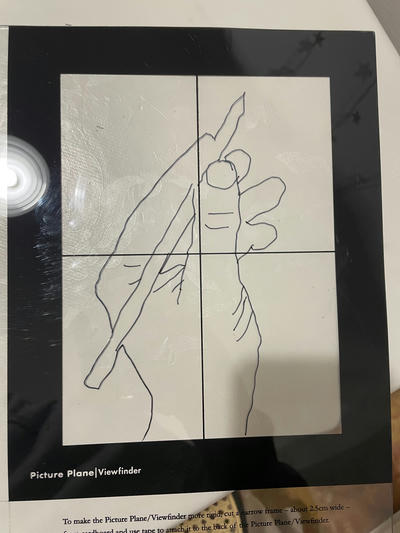
It already looks pretty good! By drawing the trace on the viewfinder, you are not tricked by the preconceptions on what a hand should look like, so you can really draw it as it looks.
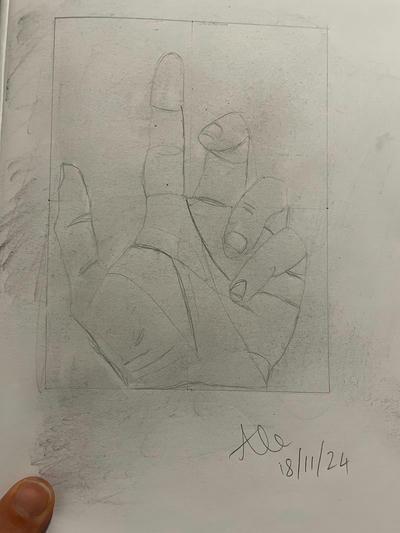
Then, you have to draw your hand on paper, using your real hand as a reference (in the same pose as the viewfinder mark), with the possibility of looking at the viewfinder too.
The hand represented in the viewfinder above came up like this:
I'm pretty satisfied with the result. The next step would be to do it without a viewfinder (or as the author puts it, use an "imaginary" one).
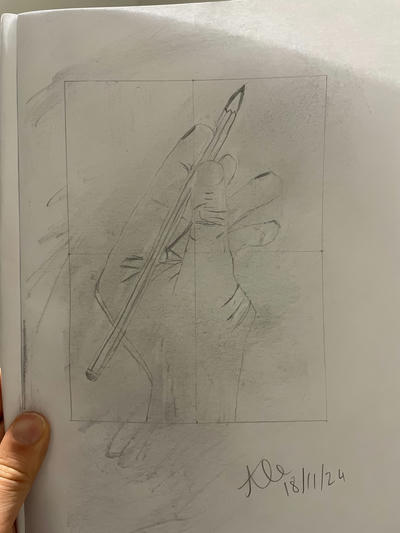
Bonus content: I've actually done another pose before this drawing, which came up quite decent too but I didn't have the viewfinder photo of that so I'm just posting it at the bottom here:
Another upside down drawing
I've done another upside down drawing like here to focus on when "R-mode" activates.
(hover to flip)
It doesn't look exactly right everywhere as anatomy is a bit off I think, and I left too many marks, but I was expecting worse!
DRSB: R-mode vs L-mode
In the "Crossing Over from Left to Right" chapter, the "Drawing from the Right Side of the Brain" book I'm following (see drawing) gives you an exercise: you have to draw "Portrait of Igor Stravinsky" by Pablo Picasso, upside down.
So this image:
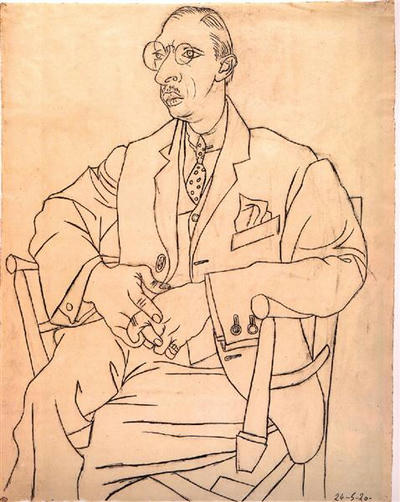
But instead of drawing it by looking at it straight, it's flipped over, like this:
DRSB: Pre-Instruction Drawings - self portrait, my (zombie) hand & more
As mentioned in the previous post I've just started learning to draw with the "Drawing On The Right Side of the Brain" book by Betty Edwards (https://www.drawright.com/). I haven't done any "lesson" yet but the book asks to do a few pre-instruction drawings, so here they are!
Intro: Trying out Drawabox and... pivoting
As mentioned in drawing I've decided to embark this journey of learning to draw, inspired by a random workshop I walked into accidentally at Lucca Comics, and seeing all the beauty of that world with fresh eyes (I went to the festival for the "Games" part, but was really fascinated by the illustration part).
I don't have the confidence necessary to show up at a drawing course in Tuscany (just feel the pressure of being in the land of Da Vinci and show up to a course there 😬), so I decided to look online for the next best thing (the blessing of living in this day and age is that you can find everything on the internet).