Welcome to my digital garden!
I'm Alessandro Marrella, I'm a software engineer and a beginner artist.You can email me at hello @ this domain or chat with me in the socials linked below
Welcome to my digital garden!
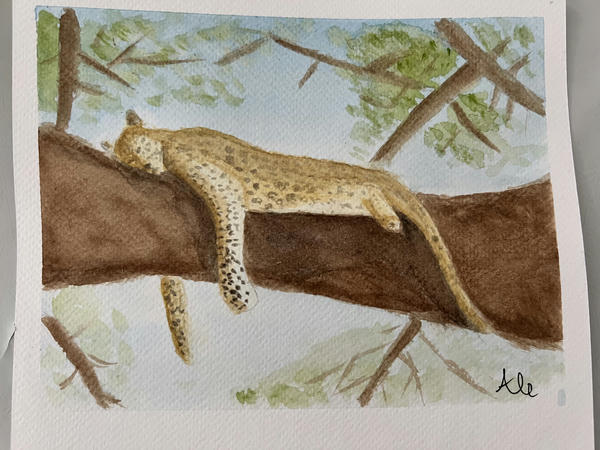
I'm Alessandro Marrella, I'm a software engineer and a beginner artist.At the end of a watercolor class I was taking, the assignment was to draw anything we wanted. I didn't have any idea and begged the instructor to give me one... He said: draw a cat looking out of a window, well...
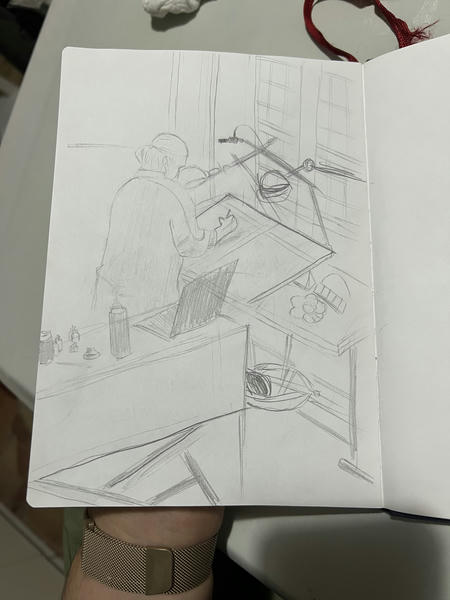
Lucca Comics was what started it all. I went back this year, and this time I went just to see the artists. Rebecca Dautremer was the resident artist and I had the luck to see her painting.